UPDATE! I have now started my own cake making company! Please visit my facebook page https://www.facebook.com/CustomCakeStudio and give it a like! :-)

This cake I made for a friend's birthday, and I remembered to take good step by step pictures to show you how it was made.
I printed a picture of a Unicorn head so that I would have a template to work with.

I baked 2, 12 x 6 inch madeira cakes.

Then I cut these in half so that I could add a layer of chocolate buttercream.

I cut out my Unicorn head and stuck it onto card (a cereal box), then laid both cakes next to each other and put the Unicorn template on top.

I cut around the template.

Then I transferred the pieces to a cake board. As you can see I had a bit of a 'gap' in between the cakes (where the edges had bevelled) so I filled this with cut offs of cake and helped stick it in with buttercream.

Next I gave the Unicorn a cheek bone out of rice krispie treats, and carved and eye hole and nose hole.

Then i covered the whole thing in vanilla buttercream.
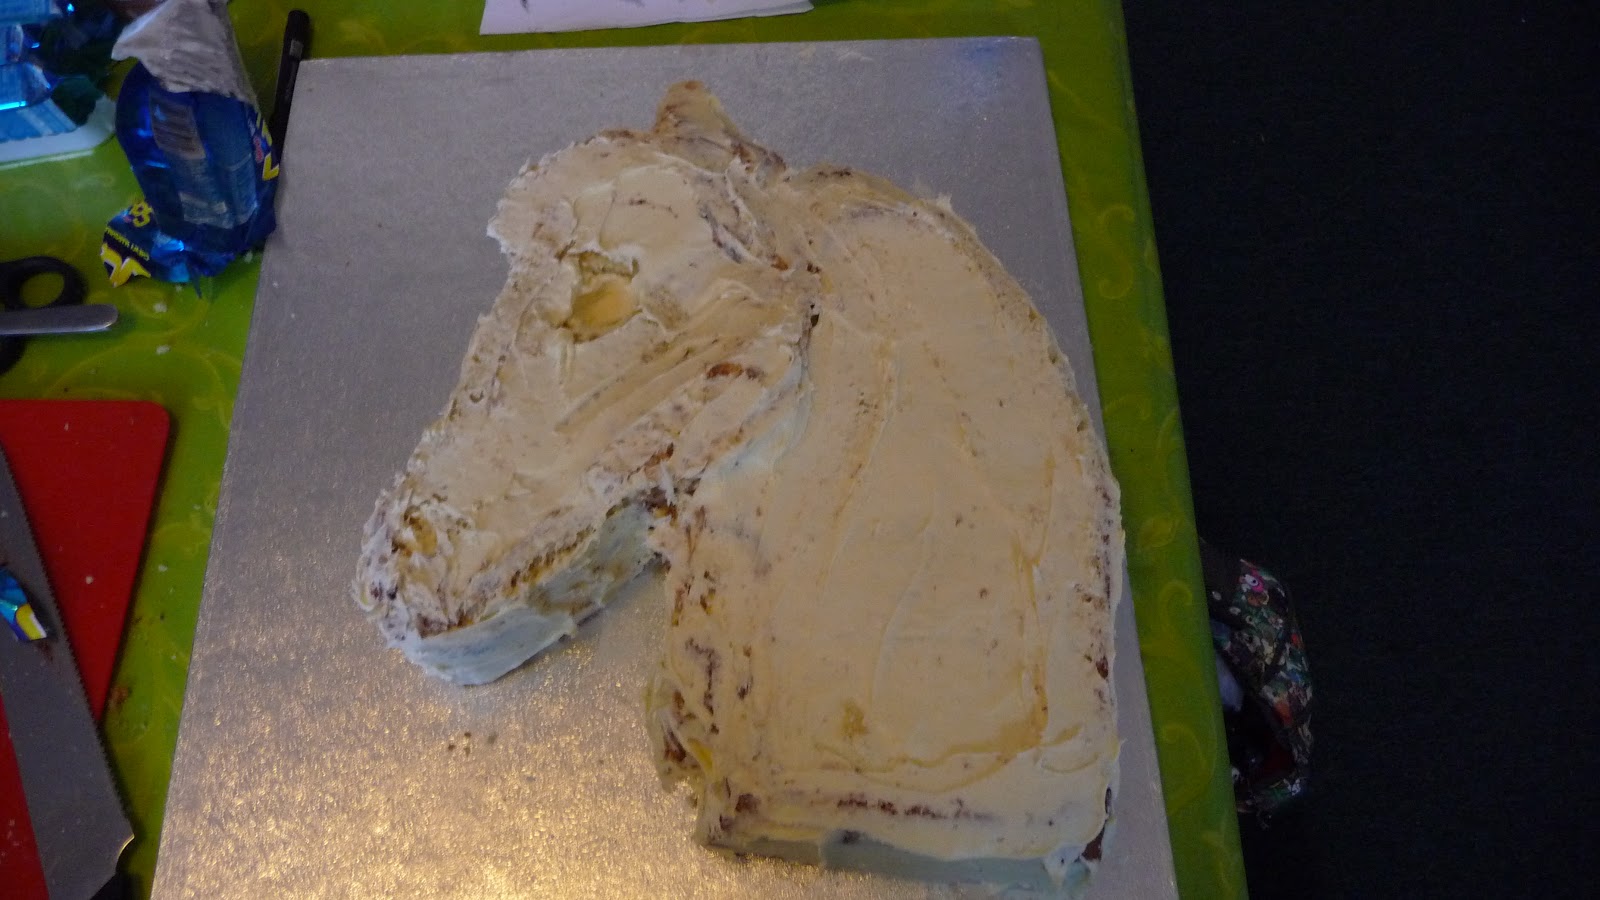
Next I rolled out a big sheet of white fondant and covered the whole cake. I made sure that I pressed into where the eye and nose holes were, and moulded the fondant around the cheekbone.

Twisting two long strips of fondant together I made the horn.

This I painted gold using edible gold paint.

Next I rolled out strips of coloured fondant to make a rainbow mane. I added these to the top of the head, leaving a gap around the ear, and to the neck.

Then I added edible sparkles in the same colours as the fondant.

Finally I put a small ball of fondant into the eye socket, and gave the eye, nose and mouth some detail using black gel colouring which I painted on with a brush. Then I cleaned up the cake board with a bit of water and kitchen roll.
This is the final result!

No comments:
Post a Comment